Environment Configuration
Note
This guide is for configuring existing Fugue environments. To set up a new environment, see Setup - AWS & AWS GovCloud, Setup - Azure & Azure Government, Setup - Google Cloud, or Setup - Repository.
Before you start configuring your environments, it’s helpful to understand some core concepts, such as what environments are and how to navigate them.
In Fugue, you configure an environment by setting a baseline, updating scanned/enforced resources, enabling/disabling drift detection or enforcement, changing the environment name, and more.
IAM permission configuration (AWS Identity & Access Management role, Azure principal, Google service account) is discussed in AWS IAM Policy Permissions, Setup - Azure, and Setup - Google.
Configuring an Environment
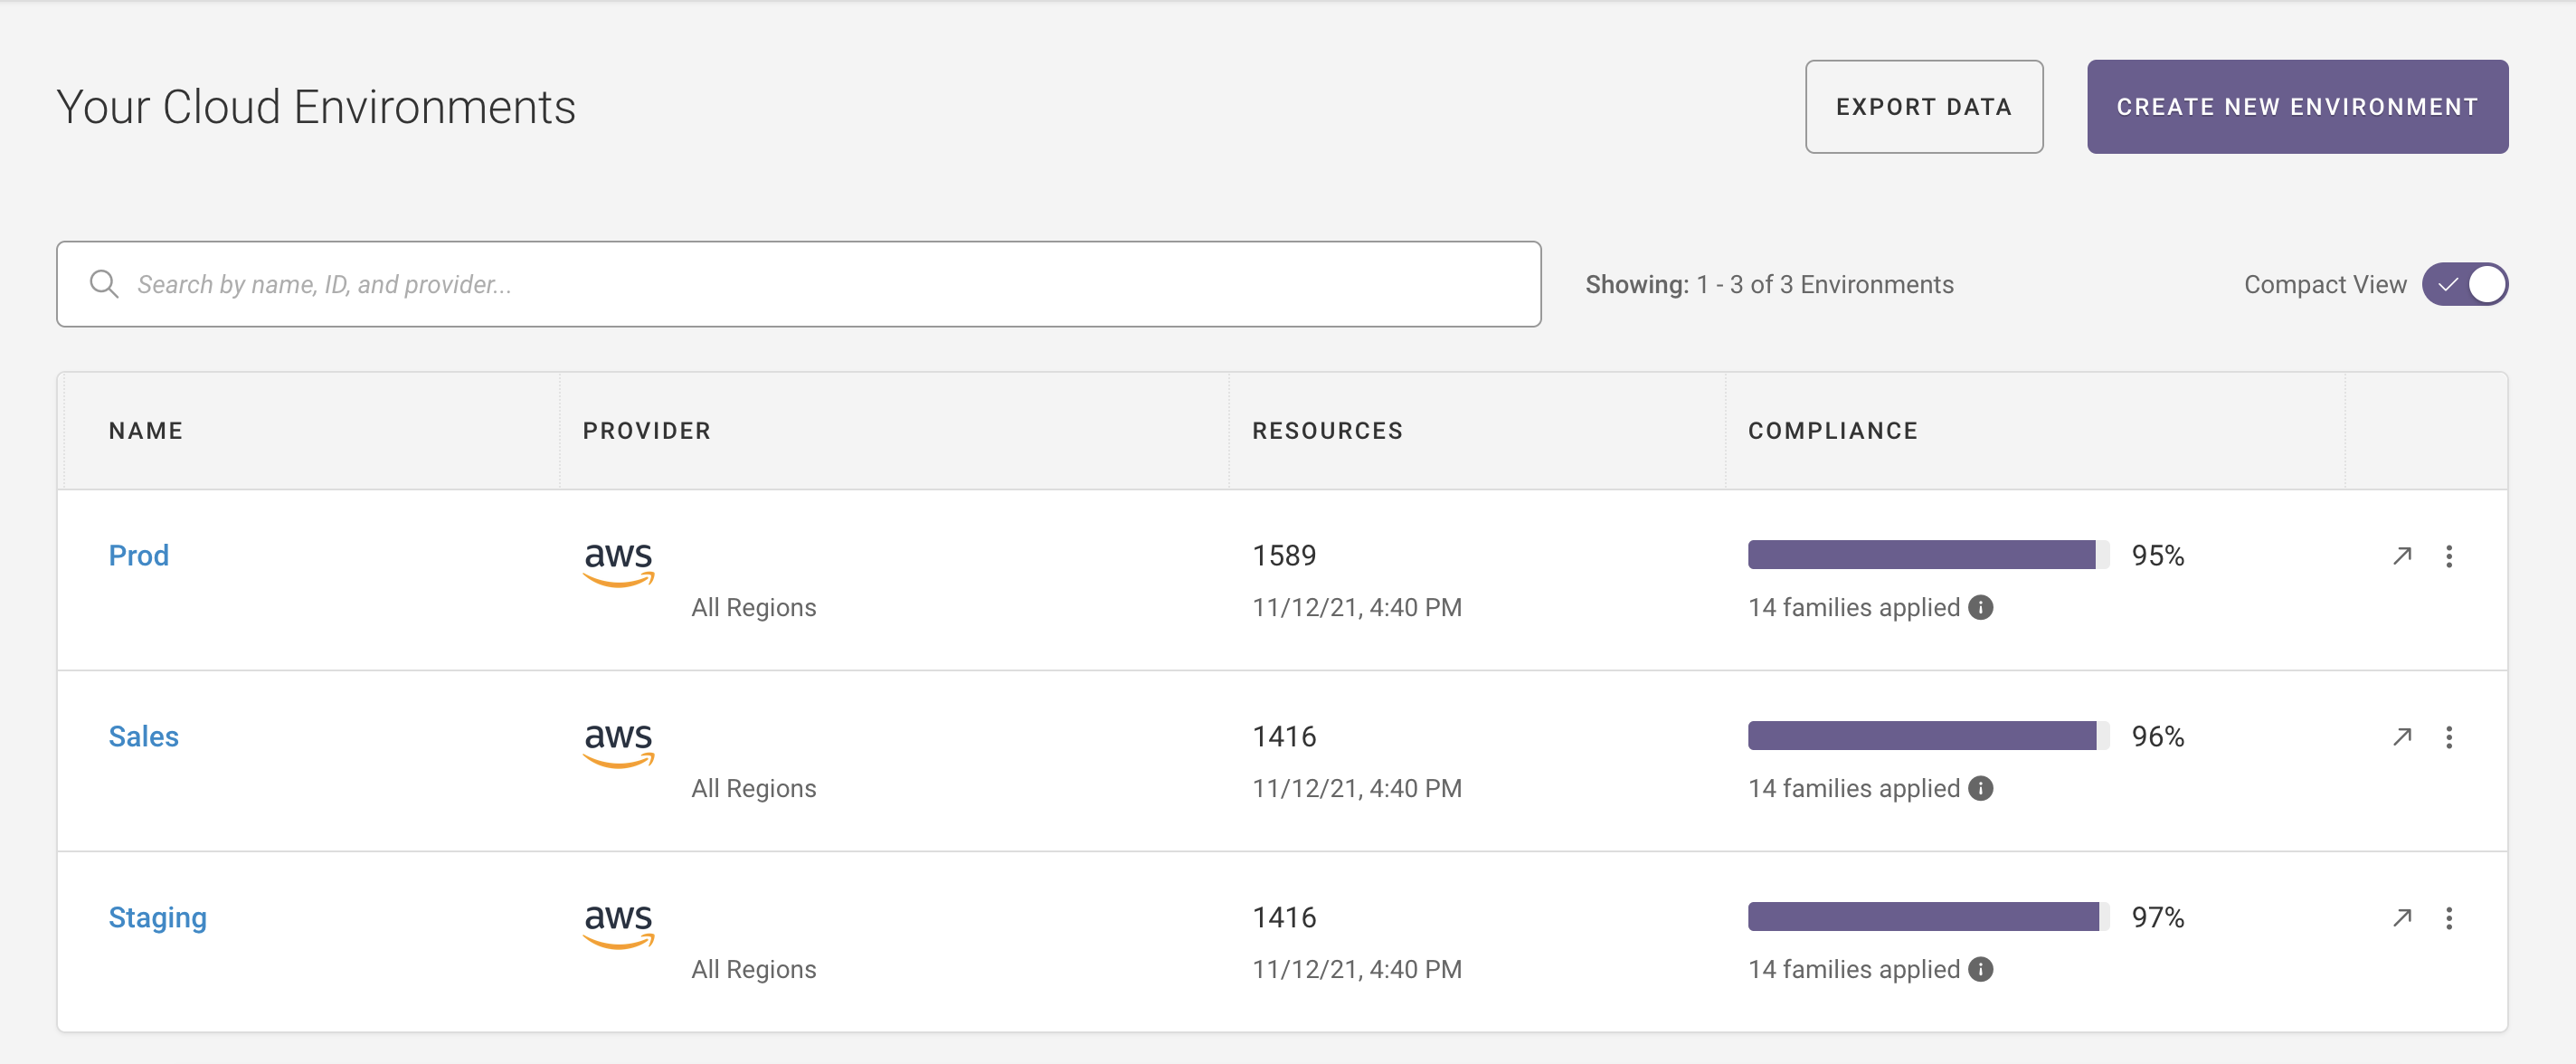
In the top right corner of your browser, the “Environments” link brings you to the Environment Overview page.
You can edit environment settings in two ways:
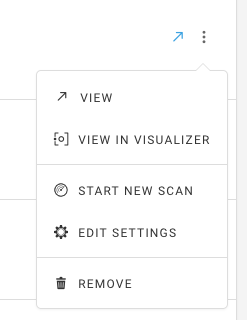
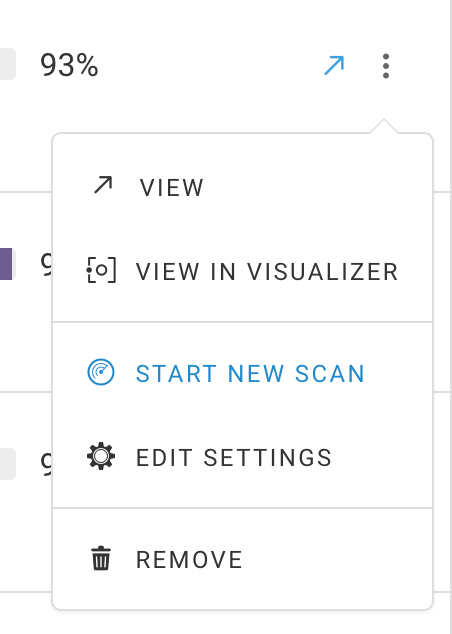
On the Environment Overview page, select the ellipsis next to an environment and select Edit Settings from the drop-down menu:
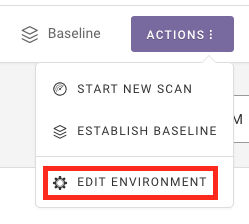
On an environment dashboard, by selecting
 Edit Environment from the Actions drop-down in the top right of the page
Learn more about the Environment Overview and environment dashboards.
Configurable Settings for Environments
Environment name
AWS resources to be included in scanning or enforcement (changes take effect on the next scan)
AWS regions (via API – certain environments only)
Azure resource groups to be scanned (via API)
Permissions:
Selected compliance families (changes take effect on the next scan)
Enabling or disabling baseline enforcement (AWS & AWS GovCloud)
Environment compliance report email settings
Updating Scanned or Enforced Resources
Resource type and resource group changes take effect on the next scan.
AWS
See the FAQ to learn how to update environment resource types for scanning or enforcement.
You must update the IAM role after changing the resource types you scan and/or enforce, or Fugue will be unable to access the new resources’ configuration.
Note
When you add new resources, if all required permissions are already part of the SecurityAudit policy automatically attached to new roles, the generated JSON policy will be empty.
Azure
See How To: Add or Remove Azure Resource Groups to learn how to update environment resource groups for scanning.
Google Cloud
You can update the service account email. See Settings (Enable Google Service APIs & Create a Service Account)) to learn how to update a Service Account email for scanning.
Updating Region(s) (AWS & AWS GovCloud)
Some environments support region updates via the API. This only applies to environments that use the regions body parameter, not region. You can check this parameter through the API. See the API User Guide for details.
Updating Resource Groups (Azure & Azure Government)
You can add or remove resource groups through the API. See How To: Add or Remove Azure Resource Groups.
Updating Resources (Google)
As Fugue adds new resources for Google, you can update and add the resources for scanning. See Enable the Service APIs required to scan your project’s resources.
Removing an Environment
There are two methods you can use to remove an environment:
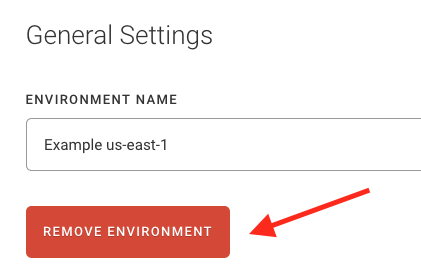
Click on the Actions button on the environment dashboard, select
Edit Environment to access the Settings page, and then click the “Remove Environment” button under the environment name.
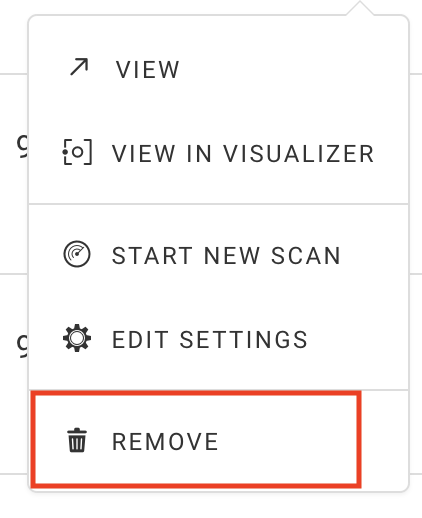
Alternatively, you can select the Environments link on the environment dashboard, select the ellipsis next to the target environment, and click “Remove.”
Setting or Updating a Baseline
In order to enable drift detection, you must establish a baseline. A baseline is a snapshot of a “known-good” configuration of cloud infrastructure. It is a complete picture of a cloud environment and defines every resource with all of its attributes. A baseline acts as a “contract” between different stakeholders such as DevOps and Security, and provides the context for determining drift and enforcing resources. When the baseline is set, drift detection is automatically enabled.
There are several ways to set or update a baseline:
Setting a Baseline to an Earlier Scan
To set your baseline to an earlier scan in the UI, use the date picker.
To set your baseline to an earlier scan via the CLI or API, find the desired scan ID and use it to set the baseline as you normally would:
Viewing Baseline Resources
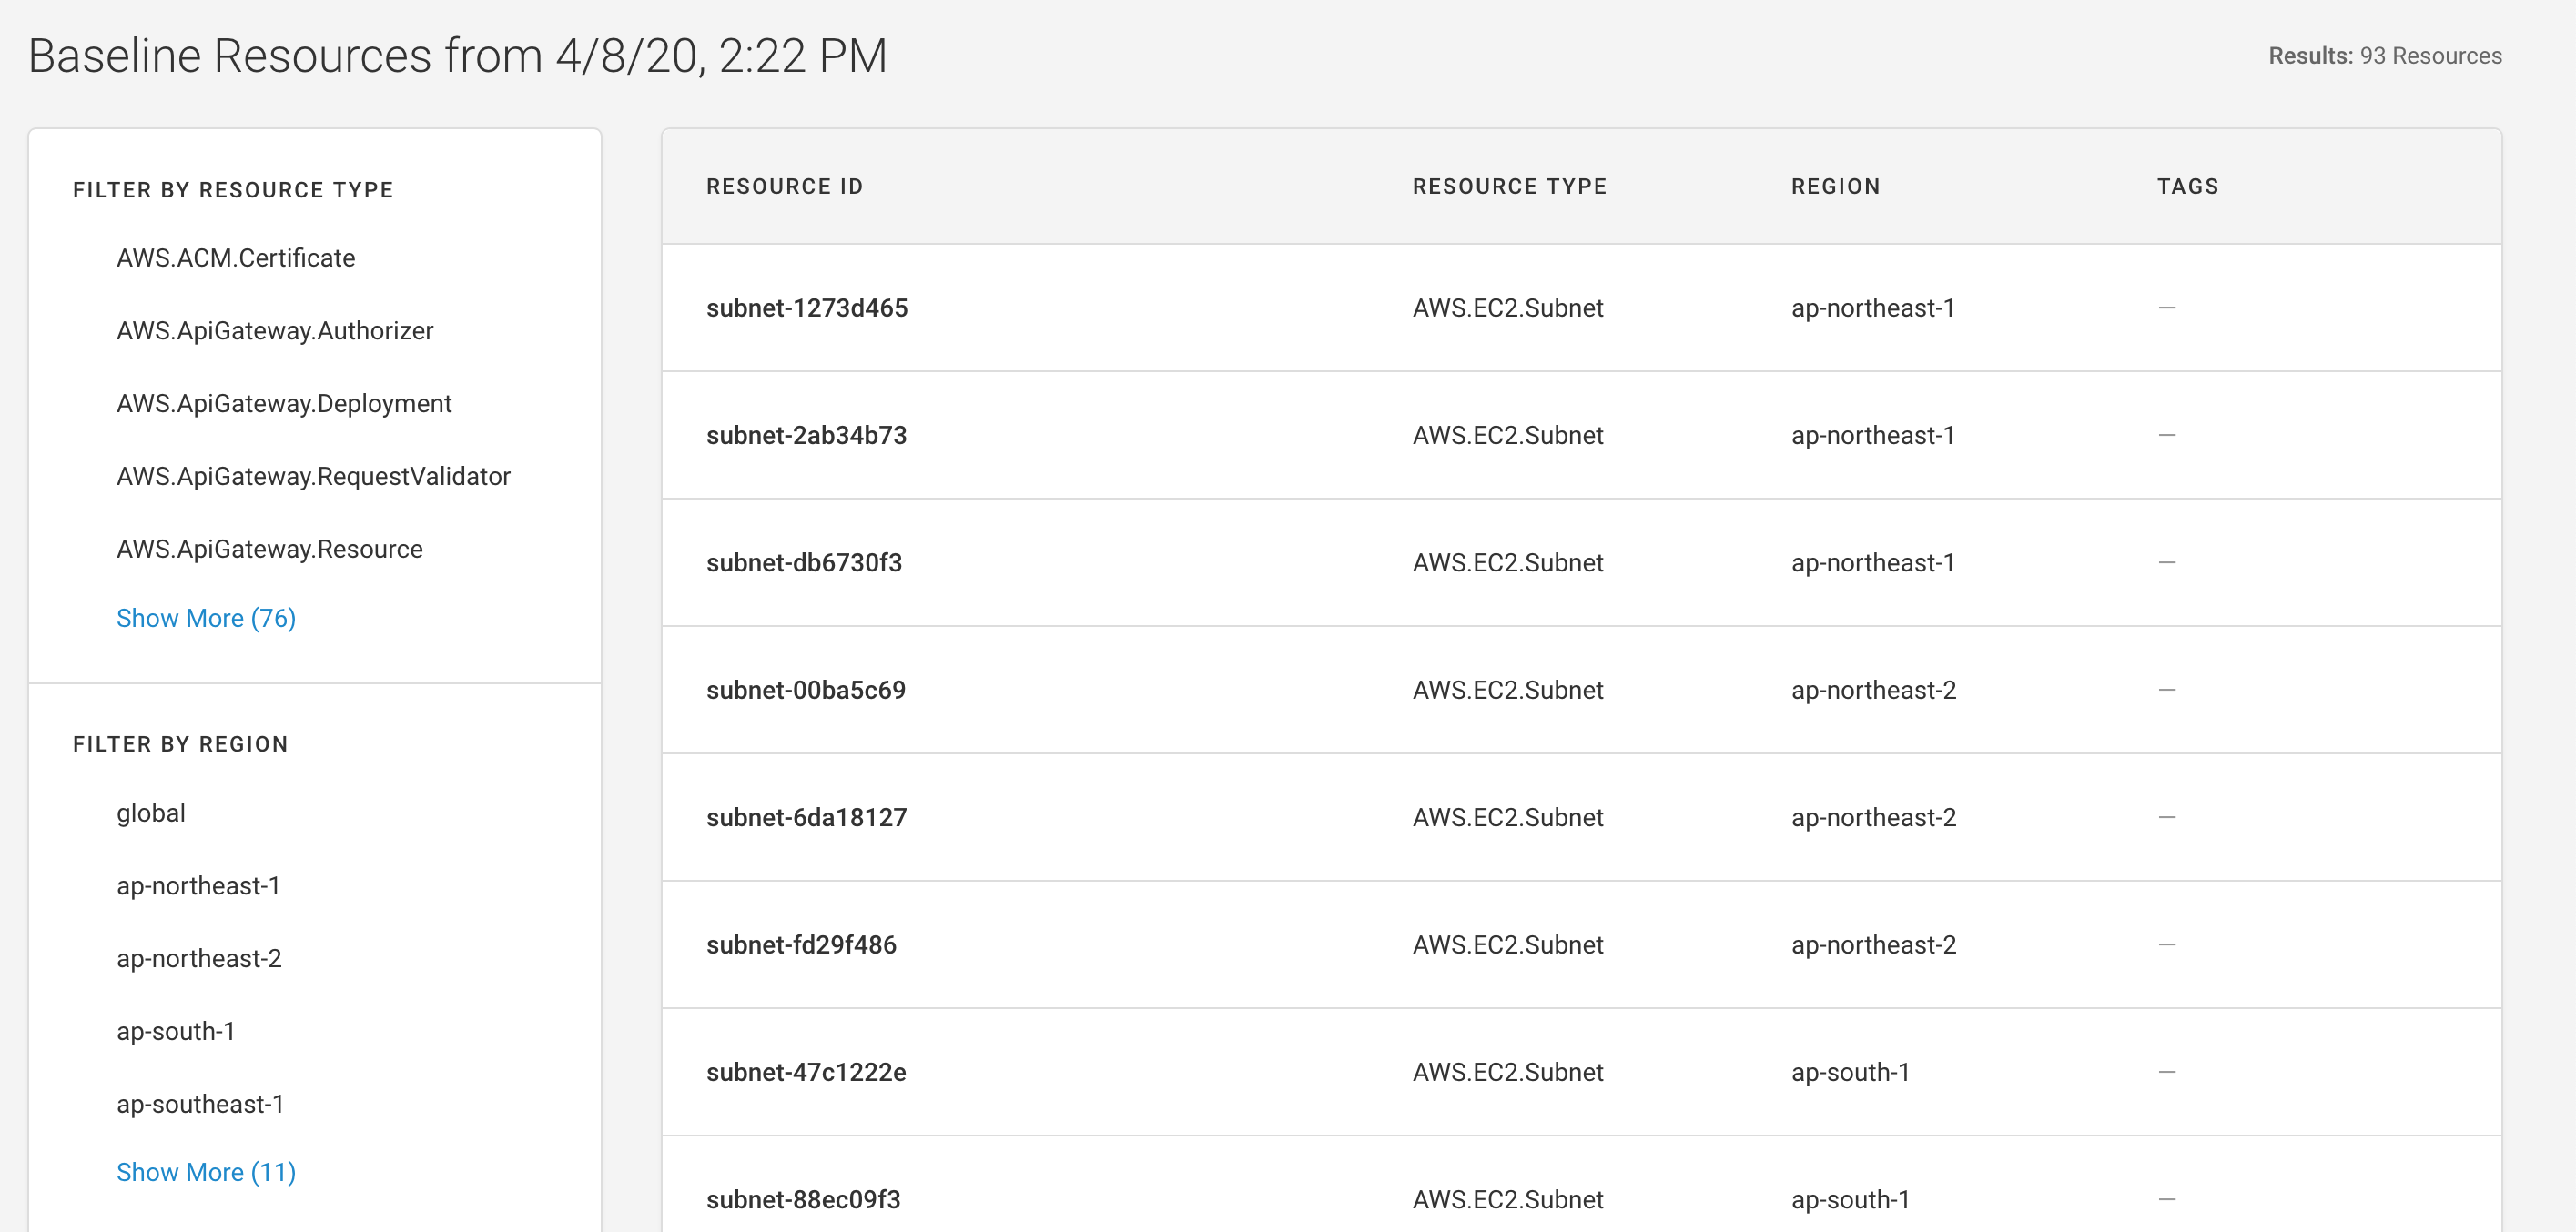
You can view the resources recorded in your baseline at any time by navigating to the Baseline page through the link at the top right of the screen.

The Baseline page lists the resource ID, resource type, region, and tags. You can filter by resource type, region, and tag. Once filters are applied, you can share them via URL. Additionally, filter state is saved as you navigate between the Compliance, Visualizer, Events, Baseline, and Environment Settings pages.
If there are more than 20 resources, you’ll see a dropdown menu below the table of resources. You can choose to show 20, 50, or 100 rows per page:

Disabling a Baseline & Drift Detection
To disable a baseline (and drift detection at an environment level), use the API to update the environment with this request body:
{
  "baseline_id": ""
}
See How To: Set a Baseline (API) for a tutorial. See also the API User Guide for more information about enabling and disabling baselines via the API.
Suppressing Drift Events for Individual Resources
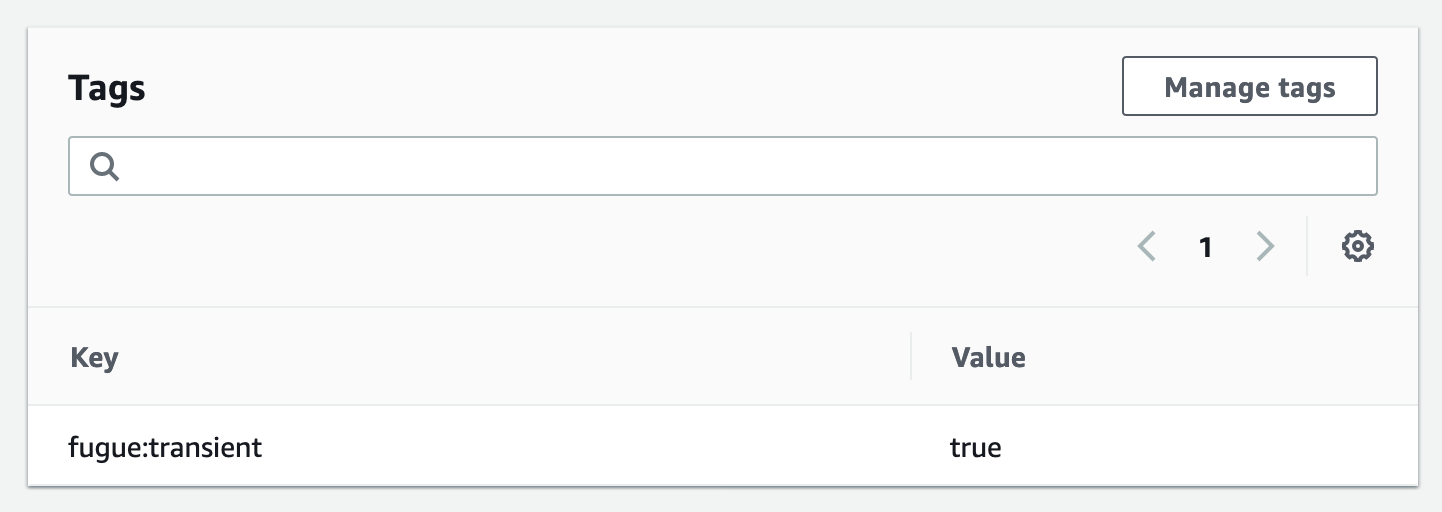
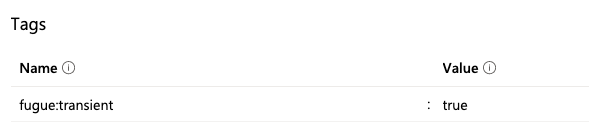
You can also suppress drift events at a resource level by tagging the resource with the key fugue:transient and value true in AWS or Azure.
Once the resource is tagged, drift events are not generated for changes to that resource. This is useful in situations where resources are created and destroyed dynamically.
AWS:
Azure:
For a list of resource types that by design do not report drift, see Service Coverage.
How to Tell if a Baseline Is Established
If you’re not sure whether you’ve established a baseline for an environment yet, you can check its status above the “Establish Baseline” button. When a baseline has not been established, the status says “Not Established & Disabled.”

When a baseline has been established, it says “Established & Enabled.”

Drift Detection
Drift is any change made to the configuration of a resource, or the deletion of existing resources or the creation of new resources, that deviate from a baseline. Drift is typically an inadvertent change made outside of official change control process and can cause security or operational issues. Drift detection is a feature in which Fugue detects any configuration changes that deviate from the baseline.
After a baseline is established, future scans populate the Events page with data about any changes to your infrastructure, including resource additions, deletions, and modifications.
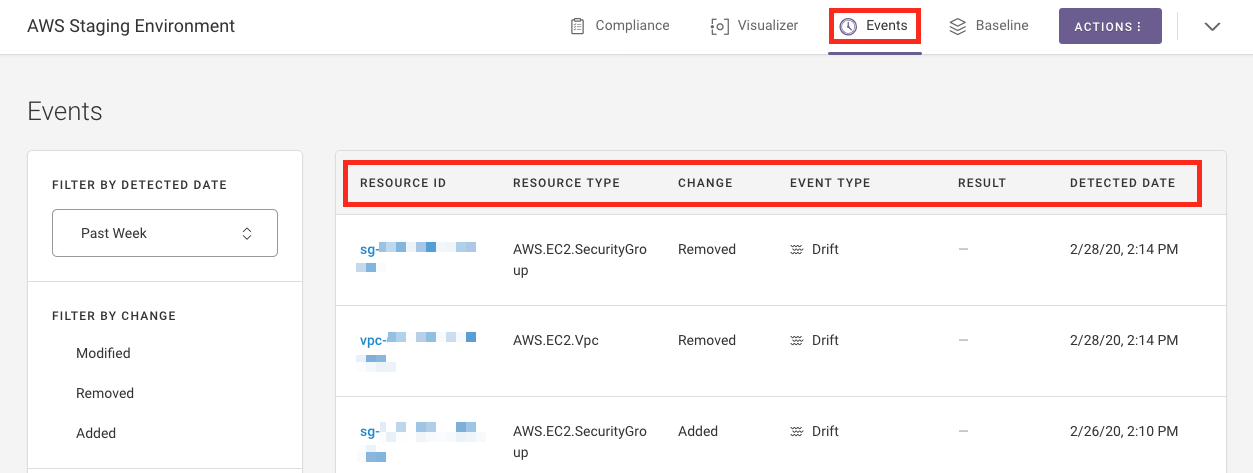
Above, you can see a sample drift report listing resources that have been added, removed, or modified from the baseline state. The report contains the following data:
Resource ID: The AWS ID of a resource that changed. Example:
risk-manager-demo-123Resource type: The type of resource that changed. Example:
AWS.S3.BucketChange: The type of drift. Either
Added,Removed, orModifiedEvent type: The type of event. Either
DriftorRemediationResult: Whether or not a resource was enforced. Either
Revertedor blankDetected date: When the drift was detected. Example:
11/16/18, 11:02 PM
You can filter by change, event type, and remediation. Once filters are applied, you can share them via URL. Additionally, filter state is saved as you navigate between the Compliance, Visualizer, Events, Baseline, and Environment Settings pages.
If there are more than 20 events, you’ll see a dropdown menu below the table of events. You can choose to show 20, 50, or 100 rows per page:
Disabling Drift Detection
To disable drift detection at an environment level, you can unset the baseline. See Updating a Baseline. To suppress drift events at a resource level, see Suppressing Drift Events for Individual Resources.
Enabling or Disabling Enforcement (AWS & AWS GovCloud)
Note
For best practices surrounding baseline enforcement, including a list of recommended AWS resources to enforce, see the FAQ.
Baseline enforcement is an action taken without human intervention by Fugue to revert any configuration drift back to the established baseline without the need for external remediation scripts or “bots.”
Before Fugue can enforce your resource configuration, the following steps are required:
Update the IAM role to allow Fugue to modify configuration of the selected resources.
Set a baseline to establish the “known-good” state that drifted resources should be reverted to.
Enable enforcement through Enforcement Settings. There are two ways to access it:
By selecting
Edit Environment from the Actions drop-down in the top right of the page
By selecting the Disabled or Enabled link below Baseline Enforcement
The Enforcement Settings tab contains a checkbox that allows you to enable or disable baseline enforcement. Then, click “Save changes.”
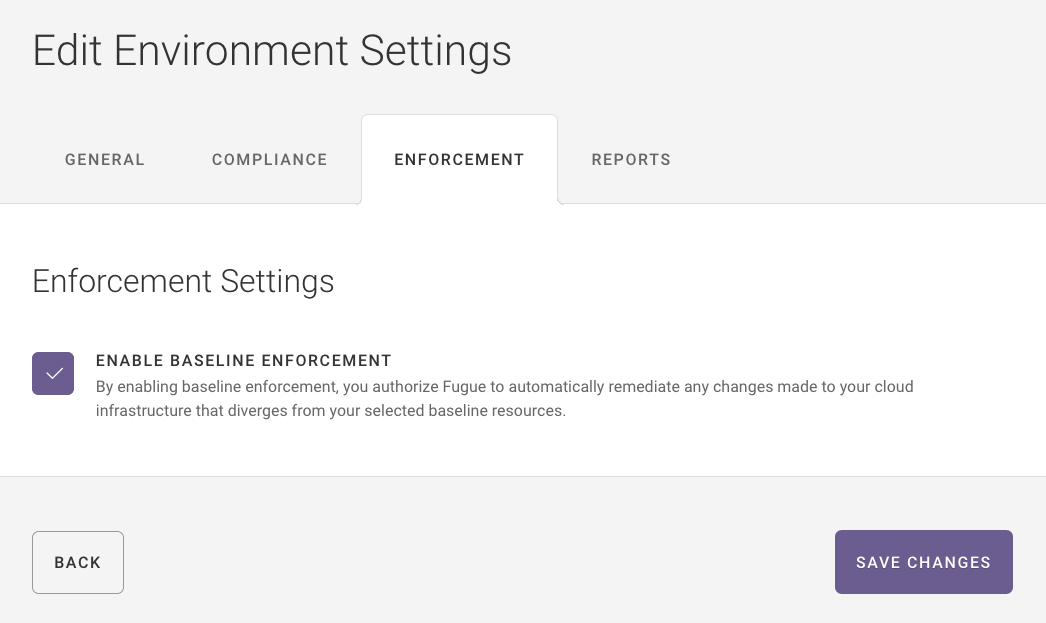
You can change this setting at any time, and your changes will go into effect in the next scan. You can manually trigger a scan via the UI or API.
You can also enable and disable enforcement through the API.
Once the baseline enforcement feature is enabled, Fugue automatically remediates modifications made to your cloud infrastructure that diverge from your baseline. The Events page lists all baseline enforcement events in addition to drift events.
Note
When baseline enforcement is enabled Fugue will only remediate modified resources. Resources that remain unchanged, were added, or were removed, will be left as-is. Contact support@fugue.co for additional details.
If you’re not sure whether enforcement has been enabled, you can check its status above the “Establish Baseline” button. When enforcement is enabled, the status says “Enabled.”
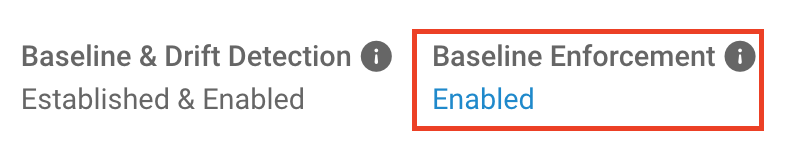
When enforcement is not enabled, it says “Disabled.”

Triggering a Scan
You can manually kick off an environment scan through the UI or the API.
To trigger a scan from the Environment Overview page, select the ... (ellipsis) button next to the desired environment and select Start New Scan:
You’ll see a “Scan in Progress” message underneath the enviroment name. When the scan is completed, the message disappears. Select the environment to view results.
To trigger a scan on an environment page, select the Actions button in the top right, then select Start New Scan from the drop-down menu:
You’ll see a banner showing that the scan is in progress. When the banner indicates that the scan has finished, you can refresh the page for results.
To trigger a scan via the API, see the API User Guide.